Author: admin

5+ 20 sided box free psd template

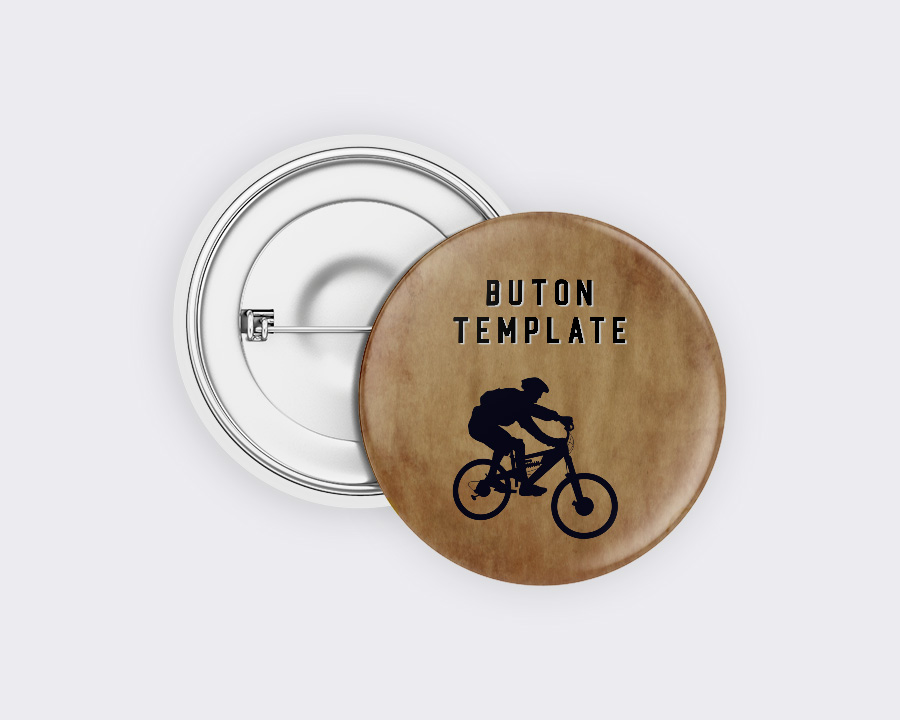
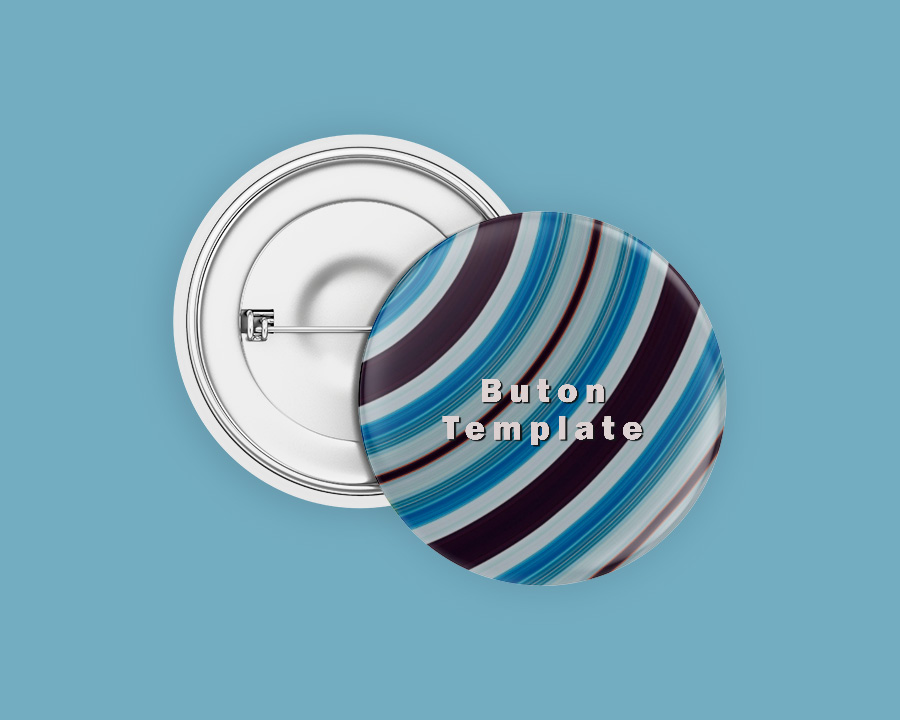
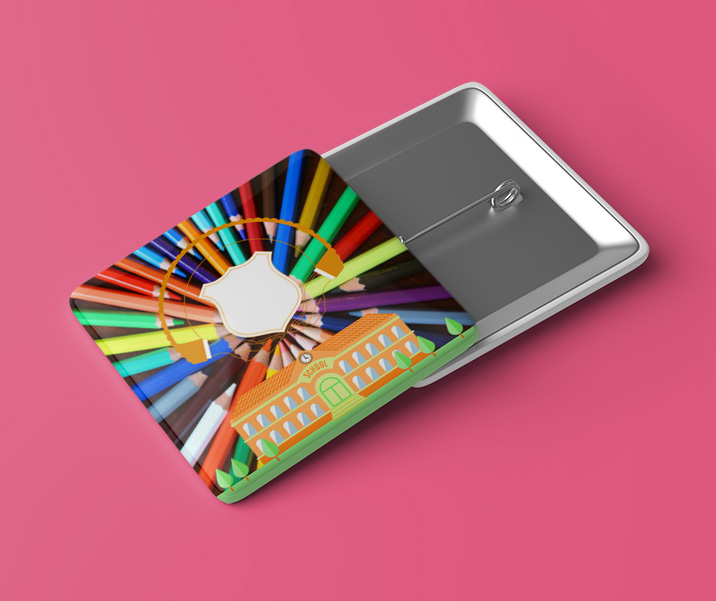
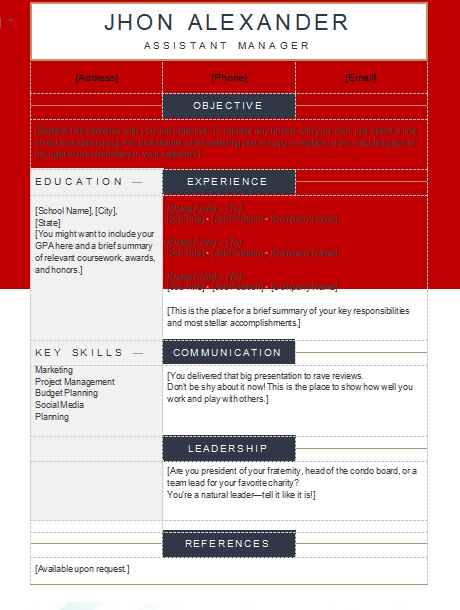
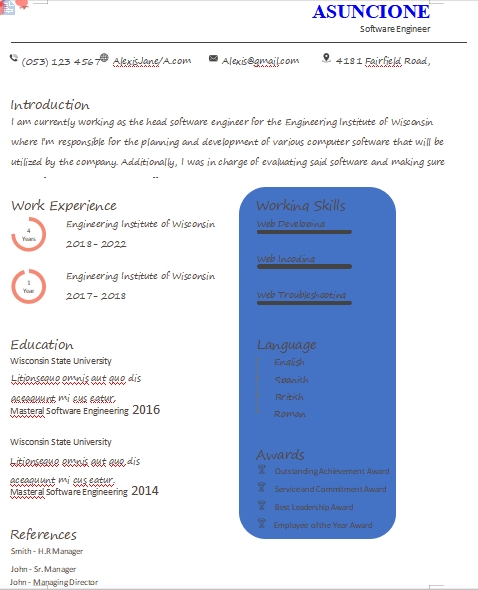
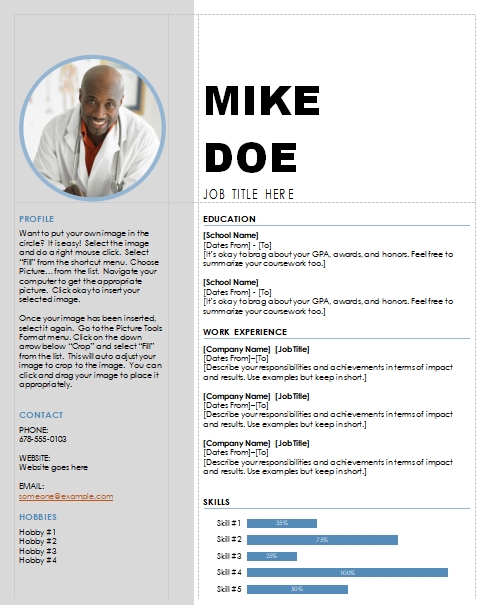
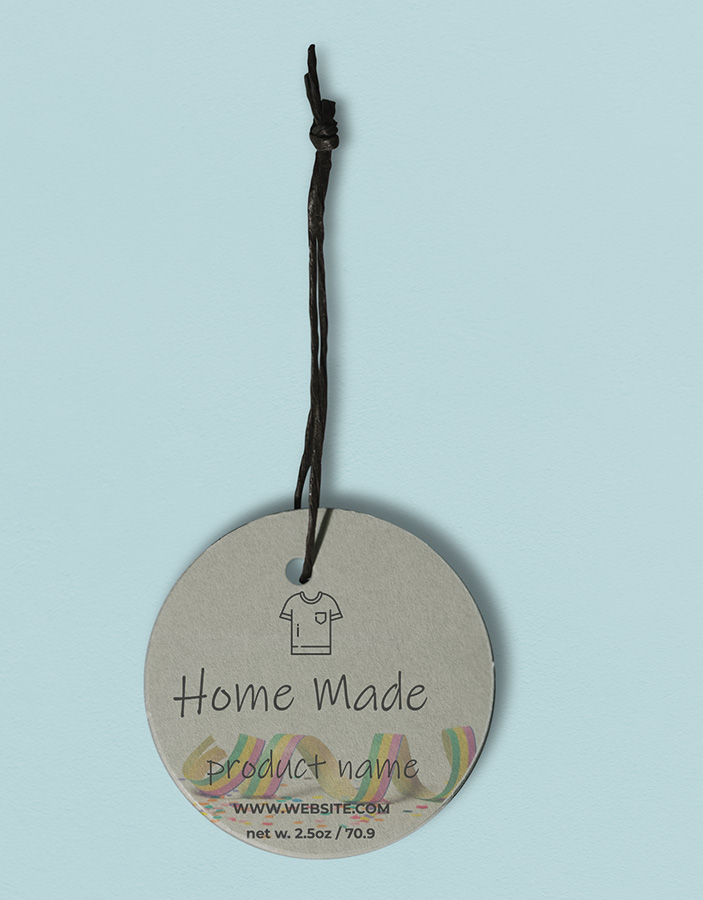
DIY 20 Sided Box Template – Pros and Cons of Using Templates

Making unique handmade stuff can be done by using our 20 sided box template. At some point, arranging and attaching the template requires a thorough understanding.

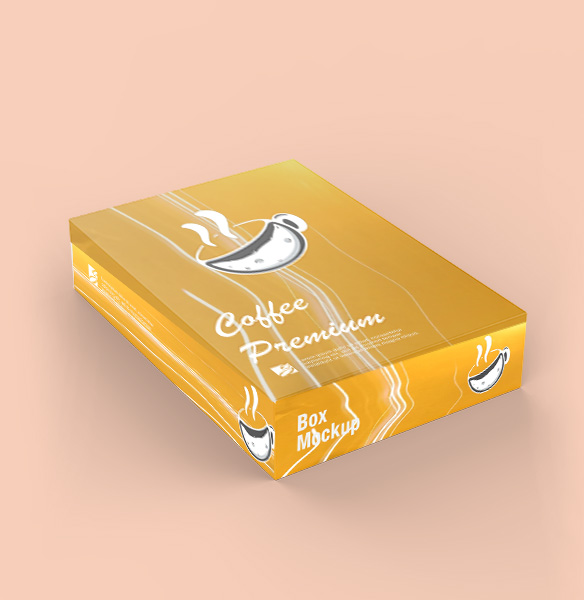
The result would be quite satisfying if you know where to glue and how to fold. The presence of templates in the design world has been a huge help.

However, some pros and cons are always interesting to discuss. So, what are the pros and cons of using templates in the design world?

Without a template, making a 20 sided dice could force you to invest more time in it. Other than that, templates are great for a massive market.

Pros: Time-efficient

Making a 20-sided box is such a challenge. Thus, using a template will save you time. You can customize a template according to what you need. Since it has a lot to do with DIY stuff, a template gives you a concrete example.

Pros: Cost-effective

Depending on the template you are using, some templates save your money. On the other hand, using a 20 sided box template also saves your money since you don’t need to buy a kit in the first place. If you need more quantity, you can simply print the template more.

Pros: More selections

If you are working as a freelancer, having a catalog is essential. This is also another reason why using templates is crucial. You can allow your customers to pick the one they love from the template collection. Later, you can simply edit the template as needed.

Cons: Undifferentiated

The first thing you will realize about using a template is uniformity. The purpose is for a massive market. Thus, it can be a bit difficult to stay idealize.

But if you are working for the market or you want to have fun with your first project, feel free to use templates as much as you like.

Cons: Different codes

This thing happens all the time when a DIY doer wants to make a website quickly. Some themes may look nice but it can fall flat without proper knowledge of codings like CSS and HTML.

Verdict

Is it good or bad to use a template? It depends. As long as you know how to take responsibility out of it, you are good to go with templates.

Also, make sure you use the template according to the copyright or license. But using a 20 sided box template will always be a fun thing to try.

5+ 2.5 inch button template free psd

An Ultimate Guide on Buying a Button Maker Machine

When you want to start making a button-making business, using a 2.5 inch button template would help you a lot – size is a popular number among other sizes.

Some websites offer templates for free. Once you’ve downloaded the template, you can design the look by using the software you prefer.

After the design is done, you can simply print it and let the machine does its job. Talking about a machine to make buttons, you need to consider several factors before deciding your choice to a specific machine.

The good news is that most machines are affordable. Here are things you need to consider before buying a button maker machine.

How much does it cost?

Since the 2.5 inch button template is free, you just need to pay for the tools and equipment. A button maker machine is an essential tool you need to purchase if you plan to make this a serious business.

The price depends on various factors such as the shape varieties, sizes, number of buttons the machine can make, and the brand. You can get a button maker machine as cheap as USD 100.

On the other hand, you need to pay up to USD 500 if the machine comes with an attachment to make a button in different shapes and sizes. Also, you better opt for an automatic machine so you don’t need to manually operate the machine when it is at work.

Important features: the size

If you plan to make this business as a home business, it is highly recommended to buy a small yet compact machine. Smaller machines allow you to save space and handle the machine easily.

Important features: the speed

On the other hand, if you are ready to take a larger order, you can opt for a speedy machine. Generally, an amateur-grade machine can make up to 50 buttons per hour.

Meanwhile, a professional machine can produce at least 200 buttons per hour. Of course, this affects the price.

Important features: ease of use

Most button maker machines sold on the market are manual. It doesn’t require electricity while easy to use. However, you need to operate the machine on your own. If you need to take a larger quantity of orders, you better check out automatic machines.

Some other things still require consideration. More than anything, we encourage to use free templates to make buttons. Using a 2.5 inch button template is such a good point to start.

2.5 inch button Design Ideas

5+ 2.25 button example psd design

2.25 Button Template and Tips on Making Buttons

Checking out some collections of 2.25 button template could help you to start your button-making journey. Buttons can be another way for you to make money. But how can we start it?

There are several places you can head to for finding the templates. Templates help you to make the exact size without manually measuring the button.

Some templates are printable and editable. You can use a specific app on your computer to customize the pattern, color, and anything you need for the button.

Is it a profitable business?

As has been mentioned earlier, some people show their enthusiasm for making buttons. But at some point, it could be tricky to measure anything manually.

Thus, using a pre-made template would help a lot. All you need to do is to figure out the button size. Once you get a suitable template, you can start to customize how the button will look like.

Of course, button making can be profitable. You may need to purchase a button maker machine but this can be done later.

Things to prepare

Other than using a 2.25 button template, you need to prepare several other things. When you make a button, make sure you have an extra mylar nearby.

This piece of paper is easily getting lost, stick together, and even dirty. Thus, preparing extra mylar would help a lot.

As has been mentioned earlier, you need to buy a button maker machine. When printing the motif, make sure you don’t use photo paper – you can use photo paper if you have a photo punch or a button maker machine for photo paper.

Another tool you may need to invest in is a punch cutter or circle cutter. Also, a ceramic magnet may help during the process of de-nesting the shells if you are using ones.

Other considerations on button making

Make sure anything is clean when you start making buttons. For instance, dog hair wouldn’t look good on your button unless you want to get that specific look in the first place.

You need to punch all elements to make the button by using the machine. Make sure you put all elements accordingly.

If you load too many elements in the machine, it would delay the process since the machine could jam.

How can this business become a profitable thing? Well, buttons are great prizes and mementos after all.

We remind you that it will be much easier if you use the 2.25 button template or other sizes to make buttons.


5+ 2.25 inch button psd template free

Starting a Button Making Business with a 2.25 inch Button Template

A 2.25 inch button template is a popular size to make a button. Many people have started their business of button making. This business can be done on your own at home while it can be highly profitable.

So, what should you prepare to start this business? In this article, we have a series of things you can try before jumping into a button-making ride.

How to market the buttons

When it comes to a profitable business, marketing champagne is one of the crucial things to determine. The good news is that you don’t need a specific yet complicated way to market your buttons.

All you need to do is to hand out brochures or mailing fliers to people. Where can you sell the buttons after all? Schools, organizations, politicians, and clubs are a few places you can make your business sold.

Buttons are versatile and can be a great memento. Thus, you can sell them easily once you’ve established one. Also, using a 2.25 inch button template would save your time on designing the buttons.

Tools and equipment

Before starting this business, you need to gather some tools and equipment. You need to own a computer and printer – the machines will help you to design and print the button motifs as well as helping with the marketing needs.

If you head to some button supply companies, you may also find a specific app to design the button. However, if you can use the template, you can use any apps on your computer to customize the design.

Of course, you will need a button maker machine, button supplies, and a round cutter. These tools are easily found in local supply stores. Or else, online shopping will introduce you to more options though.

Now you have the tools and equipment to make buttons. You can start your creative session to design the buttons that people would love.

Other considerations

In case you plan to buy a manual button machine, you need to know that it requires a level of physical strength. Also, it includes some repetitive-motion moves.

An automatic machine will help you to get rid of those hassles while taking a large order quantity. Feel free to take your time learning how to use the machine and other tools.

Cutters and the machine may lead to injury without a proper operation. And this is anything you need to know about starting a button-making business with the 2.25 inch button template.

2.25 inch button Design Ideas

5+ 2 x 4 label free psd template

Things to Know about Using 2 x 4 Label Template for Your Online Store

If you are running an online store, you might also look for a 2 x 4 label template. The label template is quite useful for shipping items so you don’t need to manually write the shipment detail for every order.

Of course, you can always create a shipping label on your own. However, failing to use a proper format can turn into a disaster. Here we will show you why a shipping label template is better than manually making a new one.

Elements on a shipping label template

Generally, you can always print a blank one but as has been explained earlier, if you are running an online shop, using a ready-made shipping label is much better.

The label contains a series of crucial information. However, the 2 x 4 label template is commonly printed in blank since you only need to state the recipient name and the address.

Talking about the shipping label, the information in it depends on the items you are sending and the courier service provider.

You need to state the contact details of the customer along with the destination address. Other than that, you can state the handling instructions such as keep away from direct sunlight, keep this side on top, fragile, and so on.

Why should you use a shipping label template?

Using templates will always save your time instead of manually writing the information on a piece of blank paper. Also, it brings you to a bunch of benefits.

Tracking is essential especially when it comes to time-sensitive goods like veggies. The shipping labels that contain the barcode and shipping bill code could help for tracking.

It also helps to manage the inventory much easier. The barcodes tell you the information you need to monitor the inventory stocks. In other words, the manual data entry job is cut.

Other than that, the shipping label saves your time while being cost-effective. It boosts the functionality and strategic benefits of marginal costs, which are quite important for a business.

Verdict

Using shipping label templates will help you in so many ways. Running an e-commerce business would require extra effort when it comes to monitoring.

The presence of shipping label templates will ease your job since everyone involved can monitor the items easily. Regardless of the size, label templates have a huge role in a business’s life.

And this is what you need to know about a 2 x 4 label template for your online shop.

10+ 2 week notice letter template

Everything to Consider Before Creating Two Week Notice Letter Template

Do you ever hear about the notice letter? Now, Let’s talk about a two-week notice letter template! Well, sometimes you feel bored with work or already feel that there are no challenges in your work. Or you have family problems that make you decide to resign from your current company.

In order for your reputation to remain good in the eyes of the old company and the new company, of course, your reasons for resigning from your job must be logical, mature, and acceptable to various parties. Immediately, see all the explanations below!

The general view about two-week notice

In addition to a one month notice, there is also a two-weeks’ notice, which is a notification of resignation two weeks in advance. Compared to the one-month prior notice, this two-week notification is more “sudden”, and may be rejected by the company.

Unless your reasons for leaving were really urgent and quite logical for the company. For example, because of illness, family matters, your new workplace needs you as soon as possible, and so on.

If your reason is not included in your resignation letter, you must explain it at the time of submitting it, or if asked by your boss. That way, as much as possible you leave your workplace with a good relationship that is still maintained. So, consider those things before thinking of a two-week notice letter template!

Things to avoid in making two-week notices

An immature decision

The first thing you have to avoid is, don’t submit a resignation letter if you are still not sure about your decision. Including, if your goal is just a salary that is better than now.

If that’s the case, you can start first by discussing with your boss, if there might be a way out other than resigning.

Vandalizing the other party

Next, don’t badmouth anyone in your resignation letter. Surely you don’t want to add “enemies” after leaving the company, right?

Then, don’t forget to express your gratitude for all the good things you got from the workplace. Whether it’s the treatment of each person or any existing learning.

Proud of a new job

Don’t brag about your job at your new place, and tell the truth during the interview, your reasons for leaving the company.

Do not double-check

Finally, don’t forget to check and reread your resignation letter. This is of course very important and even obligatory for you to do. Why? So that the letter is as effective as possible, and does not hurt anyone.

Well, based on those explanations, it means that when making a two-week notice letter template, you must avoid some points that have been explained above.


2 week notice letter Ideas

2 week notice letter Example

5+ 2 page resume template

The Best Inspirations to Make 2 Page Resume Template

A resume is something that you must make and submit to the company when you apply for a job. Generally, the resume is made only 1 or 2 pages. Then, now, you will get good information related to a 2-page resume template.

Well, a resume is like bait when you are fishing and it has to be good and delicious for the fish to eat. Likewise with a resume, so that companies want to see, review, and remember your resume, then you must make a CV as good, neat, and attractive as possible.

Consider making a 2-page resume

If your resume is more than one page, it’s better to tell a good story like, for example, you were able to increase productivity by 25% or highlight a change in process for several teams at several companies where you worked previously.

If you can summarize your accomplishments to tell how you made your role, job, project, or assignment better and you need more than one page to demonstrate it effectively, then use that time and place.

What about the extra space? Don’t worry too much about the extra space on the second page. Recruiters have short attention spans and don’t want to scan more information than they should. But if you feel like you have to fill that space, be strategic, and make sure the information is relevant.

If you haven’t already, add information about your leadership, organization, volunteer work, hobbies, or sports. This will show that you have a life outside of work and provide some insight into your personality. Not only do you create a CV in text, but you can also use charts, circles, timelines, and graphics.

Example of a 2-page resume template

After knowing some of the considerations that must be considered when making a 2-page resume template, now you know some examples of interesting 2-page resume designs, including:

Resume 2 sheets with soft colors

A resume display like this will be interesting to see. The combination of soft colors is not too painful on the eyes when reading it. Even the color play in making a resume must also be considered. So that when someone reads it is not affected by the various colors that you make as a resume background.

Resume 2 sheets of flower print

You can also use resume designs such as flower prints that are sweeter and more beautiful. Make a flower print in the resume area which is used as a border or frame.

Playing with shapes and colors

Who says playing colors and fonts on a resume is not recommended? Instead, you can use several shapes and colors in the font so that the resume is attractive. Of course, use colors and shapes in fonts that don’t make it difficult for readers.

Those are some inspirations to make a 2-page resume template.

10+ 2 inch round label example psd design

Creating 2 Inch Round Label Template by Considering the Important Elements

Do you know how to make 2 inches round label template? Well, in the scope of business and marketing itself, stickers as a promotional medium are widely used as a medium to introduce a brand or name of an organization or company in certain locations so that it will be easy to remember.


The designs and designs of the stickers themselves vary, from those in the form of a logo for a brand, organization, or a business, to the name of an event, strength, or tagline and short messages.

Not only for marketing purposes, but stickers are also commonly used to post warning messages such as “no entry”, “no smoking”, “be careful”, and so on. Ok, let’s talk more about the round label!

The size of the sticker is circular

For the size of a circular sticker, actually, there is no specific benchmark because it will adjust to the medium or object where the sticker will be affixed.

However, if you look at the sizes that are commonly used, some of them are as follows:

1.5 cm in diameter

Diameter 2 – 2.5 cm

Diameter 5 – 5.5 cm

Diameter 6 – 6.5 cm

Diameter 7 cm

Of course, you can also use sizes that are bigger than the sizes above, and it comes back to what medium you will paste the sticker on or at least what you want the target recipient of the sticker to attach to.

Important elements in making 2 “round label for promotion

Color Selection

Using the right color combination can differentiate you from the competition. Are you wearing blue? or red? The sticker that you use, of course, must explain to consumers which brands provide the products they want. Also, by choosing a contrasting color, such as white text on a dark blue background or black text on a white background, your text becomes easier for consumers to read and understand.


For example, you can see a 2-inch round label template on some products. Generally, the background is plain white which makes the black text really stand out. As a result, it will be easier for your customers to identify the product and buy it.

Company Logo

Another important aspect to consider in designing your custom sticker design is the use of a logo. If your business has a logo, of course, placing the logo on a sticker or product packaging is an effective way to introduce your business to consumers.

Logos can be used when you are focused on selling a product or you are dealing with multiple SKUs, which is also a key aspect to consider in your design. Using a logo not only provides a simple way to increase the brand impression but can also add a descriptive element about the specific product behind the sticker.

So, give attention more to those things above before printing your 2-inch round label template!

2 inch round label Ideas

2 inch round label Example


5+ 2 inch circle psd template free

2 Inch Circle Template: Making Your Circle Template

Circle templates will help you to make a perfect circle easily. You don’t need to have a compass or scaled ruler to get a precisely measured circle. Regular circle stencils offer you the various size of circles, including a 2 inch circle template.

People used to use compasses, which are drawing instruments that help you to draw arcs or circles. A compass can be used for drafting, mathematics, navigation, and drawing. But, you will also have some advantages of using a circle template or stencils.

The Advantages of Using Circle Template

At least two advantages you get from having a circle stencil. It saves your time, besides it is very accurate, and it standardizes features. Choose the desired size of the circle, align the stencil to your drawing layout, hold the stencil firmly, and draw by following the line of the stencils.

Making Circle Template

Stencils can be used for many kinds of projects, for instance for decorating cakes, designing on a wall, and drawing pictures. You can make your own 2 inch circle template by following these steps. You need to prepare a clear plastic projector sheet, knife, marker, circular item, fine-grit sandpaper, and also cutting mat.

Step One

Find a circular item you desired. For a small circle, you can use coins, and for the larger one, you can use bowls or cups.

Step Two

Lay the object on top of the plastic projector sheet.

Step Three

Make lines following the outer line of the circular objects using a dry-erase marker.

Step Four

After finishing drawing the line, lay the plastic on the cutting mat and carefully cut the circle you drew using a craft knife. You can redo the steps if you are not satisfied with the result of the circle.

Step Five

Remove the circle that you draw by lifting the plastic sheet. To smooth the edge of the circle, use the fine-grit sandpaper.

By following these steps you will have many sizes of circles, such as a 2 inch circle template. And to make it tacky, you may use a repositionable spray adhesive, since the basic material is plastic. Or if you do not have any plastics, you can also use thin cardboard as the substitution.

The Internet also provides us with so many tools that help us to print out the ready to use stencils. It is free to download and free to use. You can get the 2 inch circle template from the free stencil maker.

5+ 2 inch button free template in PSD

2 Inch Button Template: Design Tips

People can now easily design and print their own buttons. There are lots of design makers that already give you the templates for your button. For instance, if you look for 2 inch button template, what you need to do is just prepare the design or image you want and put it into the template.

Programs You Need

Today, there are hundreds of programs you can try to design your button, to design anything. Start your step by deciding the design you desired. You may use multiple tools to create a design, to draw, to add texts, even to give you an image filter.

Some tools provide you with 2 inch button template you can try, that what you have to do is just change the image. For sizing and printing, try to look for tools that can handle graphics well or programs that will print the design the same.

Design Tips

There are basic rules that all graphic designers should follow when designing. When you make the 2 inch button template, consider these things

1. Fonts are Legible

When we design, we try to utter messages through images or texts. When design buttons, make sure the fonts you use are legible. Consider your color and style, and the background color you choose.

2. Limit the Fonts

We may use more than two different fonts to design. But, when you design a 2 inch buttons, remember that your space of works is limited. Too many fonts will make the buttons to full. Then, limit the fonts you use.

3. Watch the Size

When it comes to the printing process, the design we see on the computer may differ from the printing result. Before you print, make sure that the image seen on the computer is already resized into the printing material you have.

Resizing may compress the picture, and make it not high resolution. Thus, choose the right tools.

One important tip to follow is that you need to give extra room around the design so that it does not get cut off when you make buttons. There are some online tutorials or online classes you can follow to design things. Yet, if you do not have any computer skills regarding design, try to make one from stickers, scrapbooks, magazines, or gel pens. Buttons can be hand-drawn or mix media collages.

Or you can cut some plain circles, and let your kids draw it. It can be a great 2 inch button template to try.