Category: design templates

10+ Movie Ticket template free psd

How To Make a Movie Ticket Template?


Movie tickets are a must for watching movies in theaters before exclusive shows that show films. This ticket is a sign that you have paid or invited to an event. In this case, you will need a movie ticket template to be approved. Each theater or event will display a different template design according to the development and needs. The selection of the appropriate ticket template will give a unique and professional impression for those who receive it. Many online sites provide free ticket templates, and you can also use MS. Word.

Making Movie Ticket Tempalete’s Interst and Unique

  1. Using the Online Canva Website

Canva is one of the popular online site designs for beginners and professionals. This site has millions of template designs for various needs, which will undoubtedly make it easier for you to work or produce something. Here are some steps for designing movie tickets using Canva:

  1. Before designing, register you already registered with Canva. If you haven’t regretted it first, then select the sig in the menu to enter Canva.
  2. Choose one of the available movie ticket templates. Adjust to the needs and budget costs needed.
  3. The next step is to draw or arrange to be more attractive, unique, and professional according to your needs and events. Components include charming sketches, images, or company logos. You don’t need to worry if you dont have many elements because Canva have it that make it easy and help you. Canva provides a variety of models from free to premium paid types.
  4. When finished, you can save and share the ticket directly. Select the download menu to keep it as a PDF. You can also share directly to guest contacts via email or shareable links.
  5. Make Design Using MS. Word

In addition to using the online site, you can also create your movie ticket template according to your creativity using the MS application. Word. You can use the “Insert” toolbar with menus to help you create a design template. The following lists often used:

  1. Shapes menu. This menu used to create a pattern or shape for the movie ticket’s background available forms from chassis, basic shape to flowchart.
  2. Picture Menu. As with general functions, this menu is sure to add photos and logos to an event or company.
  3. Text Box Menu. This menu used to write a text such as details of activities, motto, or others.
  4. Symbol Menu. In this menu, there are many symbols that you can add to beautify your creation movie ticket template.
  5. WordArt Menu. This menu serves to enhance the appearance of letters in the ticket title so that it is more eye-catching.
  6. Format menu. This menu will appear if a shape has drawn. In this menu, you can provide color for the background using the shape fill or out file menu, change the shape size, etc.

In designing templates using an online site or manually using Word has each difficulty level. It must be adjusted accordingly to the capabilities and needs. It may be useful!.

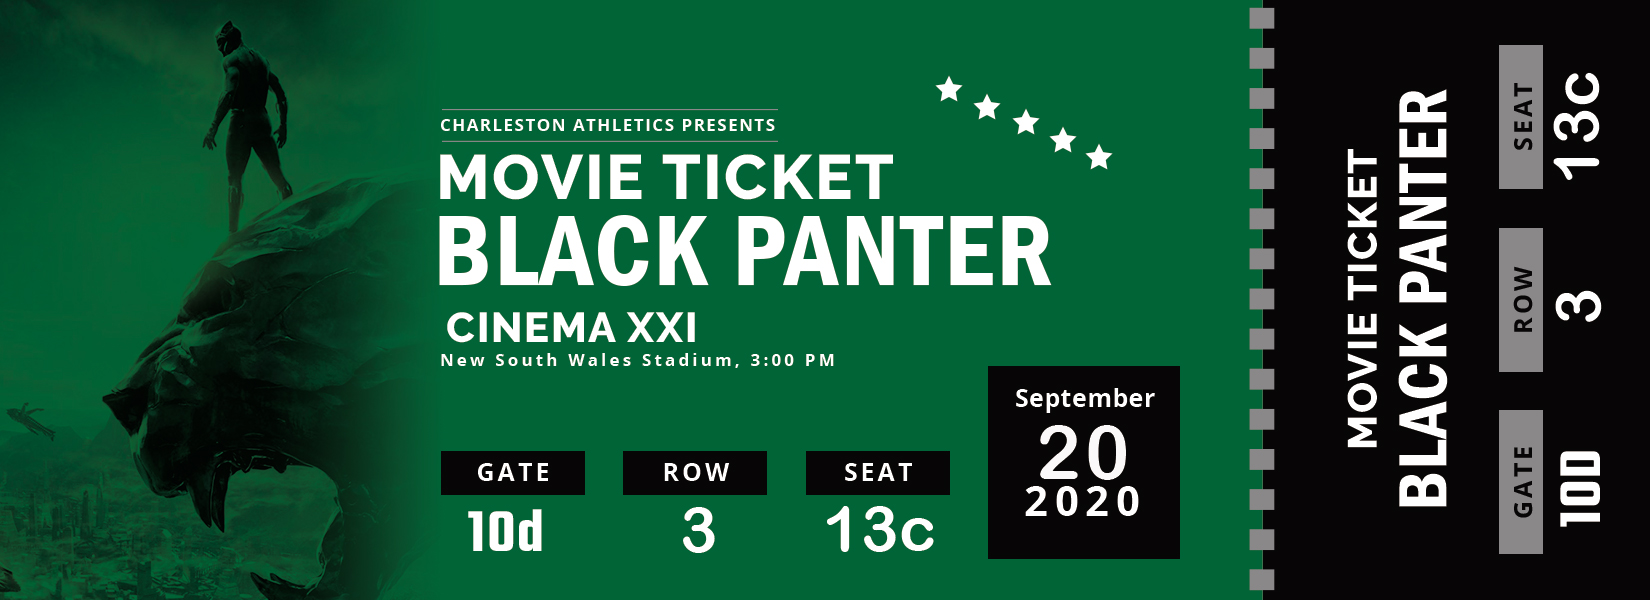
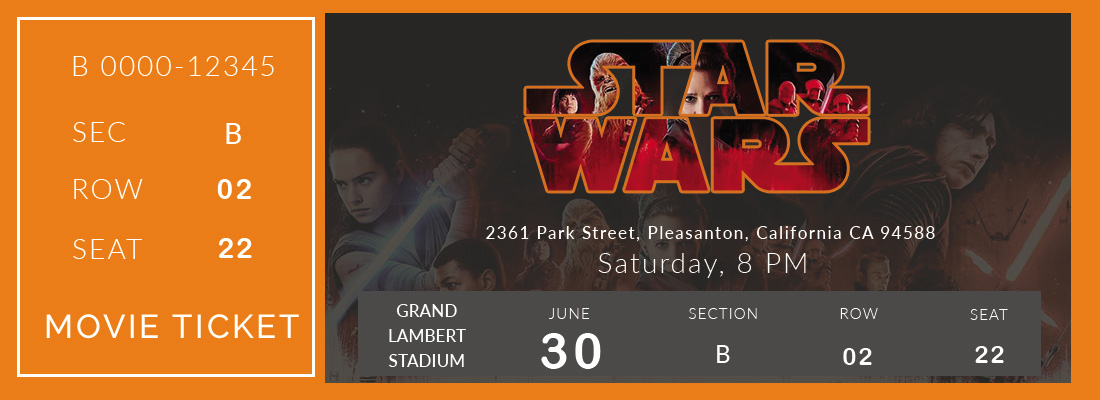
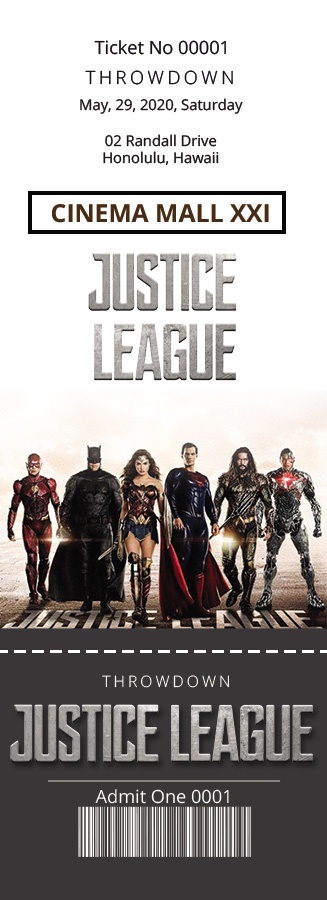
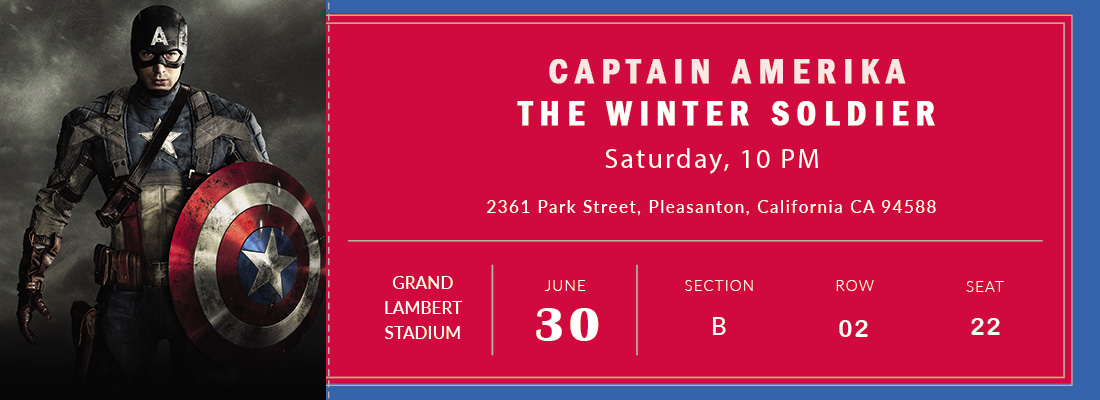
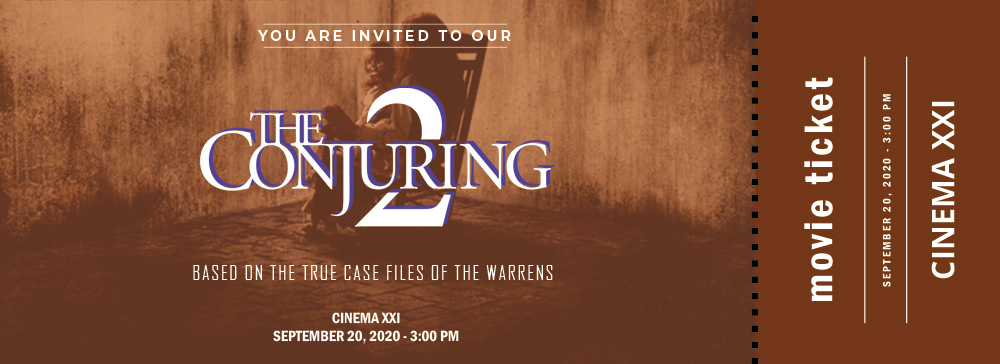
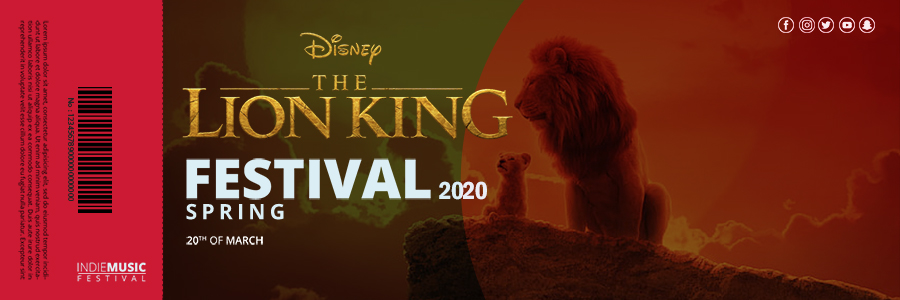
Movie Ticket Design Ideas

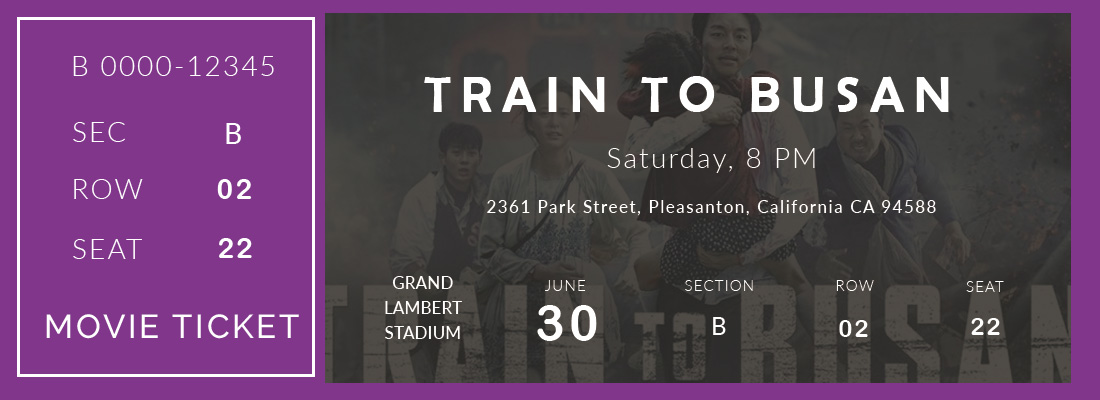
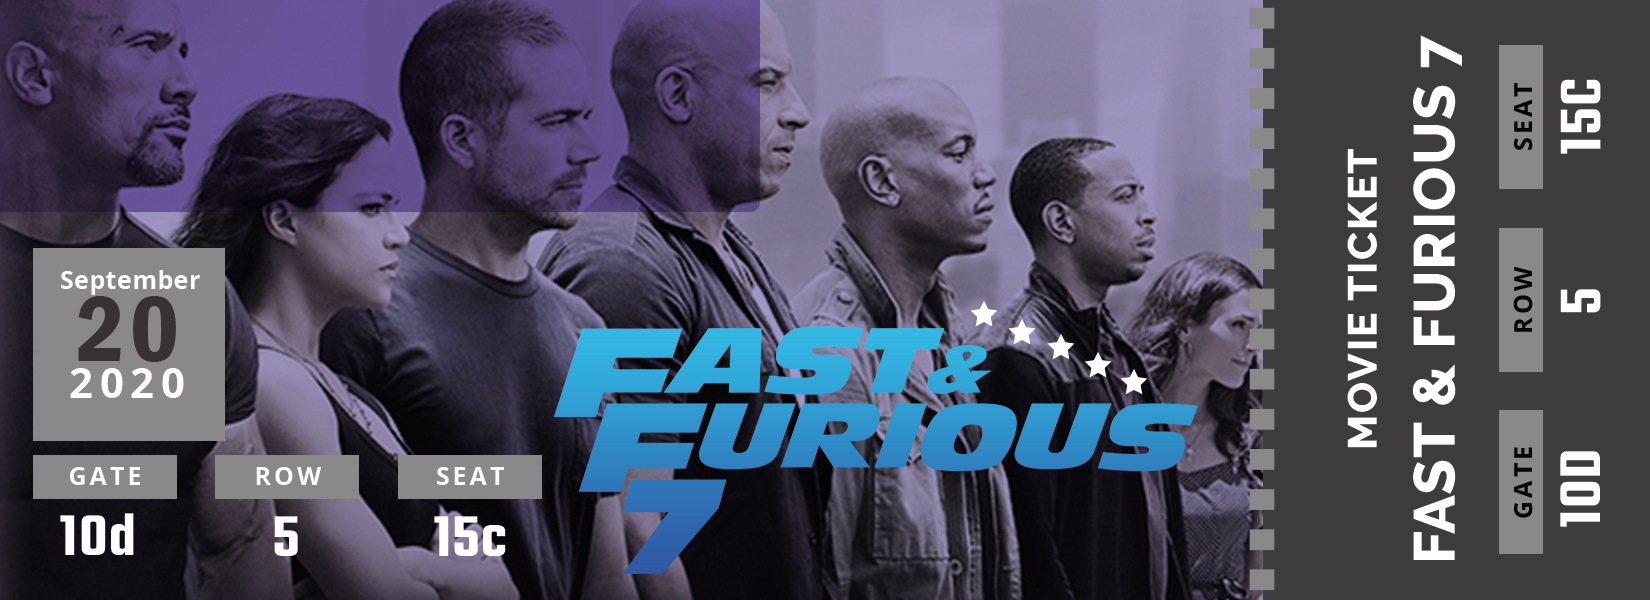
Movie Ticket Example
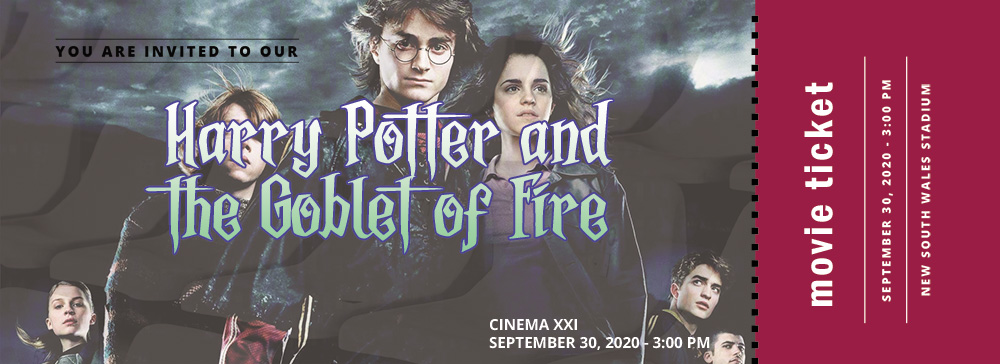
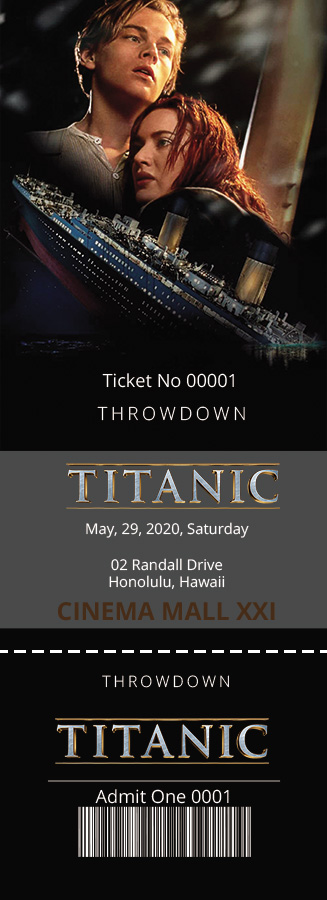
Movie Ticket Ideas


10+ Media Kit example psd design

Creating a Media Kit Template Through Online Site


Media kits are a source of information about general reviews and relevant information about companies, services, products, or events. The function of the media kit itself is to attract the attention of journalists to write articles or attract the attention of clients in terms of cooperation. Information in the media kit includes bio about you and blogs, contact info, graphics, statistics about subscribers and social media followers or more, previous work, ideas about collaborating, and then testimonials. To make an attractive and professional media kit, you need a suitable media kit template. Along with the development of technology and IT, many online sites that provide different design templates. This article will explain several ways to make your own media kit using Canva and Adobe Spark.

Media Kit Templates Through Online Site

  1. The steps to make a media kit using Canva include:
  2. Make sure before you start, you are already registered with the Canva Application or already have an account. If not, then you must register first by selecting the registration menu
  3. After signing in using your account, please open it and select the media kit templatein the available design template library. Generally, there are two types, namely free and premium or paid design templates. Choose and use a model according to your needs and company image; don’t overdo it and stand out.
  4. Edit the template design according to the information you want to provide. You can choose the tab “Upload” to add a photo or company logo. To change the size, you need to pull one corner. In addition to photos and logos, you can also edit and add text, color palettes, or other visual elements.
  5. The final stage is saving and sharing.
  6. The steps to make a media kit using Adobe Spark include:
  7. Through Adobe Spark Page, you offered a simple and completely free media kit templateto adjust to your needs and corporate image.
  8. Decide on an attractive and practical title to give a positive impression and image to the customer. Don’t worry; the created text can replace at any time before downloading.
  9. Select the theme on the “Themes” tab available at the top of the page. Edit and design the media kit as needed. Color adjustments can make with available adjustment options.
  10. Add photos or logos through the “Photos” option to display an attractive and professional impression. You can also choose images through “Creative Commons.”
  11. Add text containing information about your brand or event description with the “Text” option on the main menu. You can use adjustment options such as Opacity, Space, Color, and even Text Size so that the media kit is more effective and attractive.
  12. After completing the template design that was created and satisfied, you can save and share it through social media accounts or marketing channels.

Online media kit templates are available in many designs and types. The thing to note is that the user is following the needs to provide a positive image and an attractive first impression. And don’t forget to check whether the design is free or paid. It may be useful!.


Media Kit Design Ideas

Media Kit Ideas

Media Kit Example


10+ Company Letterhead  psd template free

Why Company Letterhead  Template is Important for Letters in a Company or Intitute?


A company letterhead template is a must for letters. Commonly, this letterhead will differentiate whether the formal letter and non-formal letter. Besides, the letterhead template also gives the first impression for a company or sponsor in approving a request for requests for cooperation or assistance. The letterhead template has the function of the identity of a company or institution. It contains crucial information such as company name, office address, company logo or design, telephone number, e-mail or fax company, corporate social media or website, and sometimes background patterns. Although there are many features for sending mail in the digital world, you will choose to send letters using e-mail. Because it is easier and faster, this fast method sometimes does not show the company’s care or sincerity. It would help if you had something good and formal to attract attention. That’s when the letterhead template is handy.

Why is Company Letterhead Template Important for Letters?

  1. Basic Introduction for Company

Company letterhead template design for each company and institution is different. The purpose of the public or clients who receive charity letters can find out firsthand the origin of the correspondence by looking at the logo on the letterhead. A letterhead template can also use to spread the image of a company. That’s why one shouldn’t underrate a letterhead’s importance when used on a company because the letterhead letterhead itself can give a positive image to a company or institution.

  1. A Legal Document/Letter

Letterhead is a differentiator for formal letters and informal letters and is considered a legal document. It can represent the company through the significance, meaning, and priority of its users. A professional letterhead template and recognized as a legal document can provide confidence to clients that the company is severe and reliable.

  1. Customer/Client Persuasion

The first impression is crucial because they can encourage or persuade respondents or clients to continue reading the letter. In this case, the letterhead template is the central part of attracting the client’s eyes first. Virtual or design of company letterhead template of attractive, kind, and professional can create the perfect impression at the level of professionalism, quality, and type of service expected by applicants and recipient donors for activities. Besides, a good letterhead template can also help improve a sense of honesty, reliability, and provide an overview of the company’s vision and mission. Letterhead can show that a letter officially sent from a company, a real company, not fraud, and activities were carry out according to what was explain.

  1. Marketing Tool

Letterhead considers essential information, including company name, address, and contact numbers that can help and facilitate clients. Good letterhead templates and design can be useful for attracting potential clients and increasing the number of donors for the company’s activities. The letterhead template itself is also part of the promotion of company activities and essential branding.

Company Letterhead Design Ideas

Company Letterhead Ideas

Company Letterhead Example

These are why the company letterhead template is essential for a company or institution in the company’s activities so that it can foster trust and be reliable by donors or respondents.


10+ Id Card free template in PSD

Online Id Card Templates Through Canva


Along with the development of the era digital, ID card template trends are also growing. Many companies or organizations have templates with their characteristics. Monochrome or black and white templates have now evolved into bold models using color and 3D games without eliminating the main functions of an id card. Although an ID card is a must in a company, you can create and design it yourself online. One of them uses the Canva application. This application has many types of professional templates that ware tailored to your needs. Next, we explain how to make an id card using Canva.

Create Custom ID Card Templates According to Your Needs Using Canva

  1. Make sure you have an account

Before starting to make the ID card you want, make sure you have an account for the Canva application. How to open Canva on your PC, then select the registration menu and fill in using your data.

  1. Choose the ID Card Template

In this Canva application, available ID Card templates designed by professionals based on the needs of many different people. Start by choosing a model that suits your needs and tastes suitable for a company or organization without losing the primary function of the ID card. After finding a suitable design template, edit the design according to the wishes of its position (Landscape or portrait), the font used, photos, or other components. Following the changing times, you can also add a barcode in the ID card.

  1. Add a Logo

A logo is a symbol or form used by a company or organization to distinguish it from other companies. Many types and shapes of logos, you can make it with a simple form that reflects the characteristics of your company or organization. In this Canva application, there are millions of photos, illustrations, and component designs that can help you and are intuitive. The “Elements” tab provides many lines, icons, and pictures. Use according to the needs you want. To change the size of the elements can be done by pulling one corner. To change the color of the selected icon, you can use the toolbar and use the color wheel tool.

  1. Using photos and background yourself

Design ID Card Templates must come with photos of employees or members. With this Canva application, you can directly add photos to your chosen design card without editing its size. Select the “Upload” tab and select your photo file type JPG, PNG, or SVG. Then you have to pull and release it as you wish. This feature can also use to change the background so that it can better reflect the image and brand of the company or organization.

Apart from the ID Card Template used, there are several other vital things, namely the size and material used. Indonesian ID cards are generally sized 90×55 mm and 80×53 mm. The material used was usually made of PVC, Art Paper, Glossy Laminating, or Laminating Doff. These materials ware tailored to the needs and tastes of your company and organization. Thus the article about making id cards online. It may be useful!.


Id Card Design Ideas

Id Card Ideas


10+ Flash Card free psd template

Flash Card Template


Flashcards are used as an extraordinary learning tool to help children understand what is conveyed by the teacher. As a useful learning medium, you can download flashcard templates on online sites, or you can also create your templates in Microsoft Word that are very easy and ready to use.

We can make it ourselves with the creativity we have so that the results look intriguing so that other people are also more interested in seeing the flashcard you make.


How to make your flashcards

While making a flashcard using Microsoft Word is surprisingly easy to do, let’s find out how to make it below.


  1. Open Microsoft Word and select a new blank document

The first step to making your flashcards is to open Microsoft Word, click the Layout tab, and set the page size to be the size of the card you want.

Set the page layout to the size of 4 “x 6” and choose a landscape or portrait layout. You can choose the best one, in your opinion, to produce the perfect flashcard when printed.


  1. Set the Menu size down in Microsoft Word

Next, you can set the derived size menu from Microsoft Word, which shows the page size. Just type what you want to write on the card by pressing Ctrl + Enter to make a new card.

Of course, writing is the central focus part seen by other people, so the script must be excellent and easy to read.


  1. Click the Design Tab

Next, to beautify the flashcard template, click the Design tab and then add themes, colors, and effects that make the card look more prominent and colorful. If you have finished, then you can click save the document.

How to Make a Flash Card Template by Mailing

You can also make flashcard templates using mailing easily, let’s find out how below.


  1. Click the Mailing Tab

Open Microsoft Word first and then start by clicking the Mailing tab, the options are at the top left. After that, a new menu will open, which you can continue by clicking the labels cost then selecting the options button.

After that, you can click on the index card from the menu to the right of the selection; then, you will find the correct index card size measurement.


  1. Arrange Layout Design

Make the appropriate layout design settings in the form of fonts, images, and sizes. Positively the choice of font colors will significantly affect the flashcard to look more attractive.

  1. Save the Template

Although the instructions for making a flashcard template are relatively straightforward, you should save the model by jumping directly to the formatted document to enter the new information needed to create a new index card.

  1. Print a Flash Card Template

The final step is to print a flashcard template easily: Open File> Print. Now choose the size you wanted for the card: 3.5 x 5 or 4×6. You may select Narrow Margins for flashcards to be more efficient or adjust the size to your liking.


Flash Card Design Ideas

That’s about the explanation of how to make a flashcard template through Microsoft Word that is easy.


10+ Twitter Banner template free psd

Twitter Banner Template


You can optimize Twitter header photos with dimensions of 1500 pixels by 500 pixels high. When creating a Twitter banner template, count your profile picture with an invisible area around the image, which looks good in the right size. Although Twitter has provided a guide to the size of the photo canopy, it is not easy to determine the correct size.

Although Twitter has provided guidelines for the size of their headline photos, they will usually crop most of your cover photo, so they have to scale at various screen resolutions for results. If you have trouble changing Twitter banners appropriately, you can use templates available on multiple online sites with an attractive appearance.


Guidelines for Making Twitter Banner Templates

Guidelines for making a twitter banner template that is easy to do so that the display of your social media accounts look attractive; here are the steps.


  1. 1500px Photo Dimension with 3: 1 Aspect Ratio

Guide to making twitter banner templates using 1500 px photo dimensions with a 3: 1 aspect ratio. The photo has JPG, GIF, and PNG formats. Well, Twitter does not recommend profile photos in the form of animated GIFs. The best size is to use a 2MB banner image file. If the file size exceeds, it cannot be uploaded.

  1. Set the Twitter Banner Template Frame

A creative person will create a Twitter banner template frame, even if it is only added with a square black line. Usually, some add a flower icon on the corner to make it look more attractive.

You can also make the frame as pleasant as possible as long as it is not cut off when installed.


  1. Photo in the Middle of Twitter Banner

The next thing to consider is to put the photo or picture right in the middle of the Twitter banner; the goal is to make it easier for us to see it.

If the position is not centered in the middle, it will make people challenging to see it so that the appearance also looks less attractive.


  1. Use the profile picture according to the Screen Resolution

To make Twitter banners look more attractive, you have to make sure the profile picture you created does not interfere with the photo headers that look more complicated. The profile picture’s position has something to do with the cover photo so that the profile photo must also match the screen resolution, not to cover the Twitter banner.

  1. Twitter header with full width on desktop

It is recommended to create a full-width Twitter header on a computer so that when paired with a profile picture, it will look more balanced by not covering the header photo.

When you decrease the image resolution, the profile picture changes the header’s location so that it shows the larger header image in the zone.


  1. Twitter Banner Does Not Cover Cellphone Screen

It would help if you made a Twitter banner that is not only good when viewed from the desktop but makes a Twitter banner that is not cut and covers the screen when seen from a cellphone.


Usually, the appearance between the computer and the cell phone is different, so when you make a Twitter banner template, it must be made appropriately.

Twitter Banner Design Ideas


Twitter Banner Ideas

Make your Twitter banner template easy to see so that the arrangement and size must fit so that it doesn’t look cut off when viewed from a desktop or cell phone.


10+ Daily Calendar example psd design

Daily Calendar Template


Calendars help us organize schedules effectively, making it easier for us to do various events easily. As one of the house’s mandatory objects, we can also make our daily calendar template with an attractive design so that it is easier to see to set the schedule that we will make. Well, now you can learn to make calendars easily that are unique and interesting.

As a useful object, of course, we often find it at home, office desks, and various shops to find out the date. Well, usually the standard calendar design, so it seems very monotonous. Well, so that your days are more productive, then you can custom yourself. But high creativity is needed so that the results are impressive so that it is easier to read.


How to Make a Calendar with Microsoft Word

The first instructions for making a calendar using Microsoft Word can be done quickly through the steps below:


  1. Open Microsoft Word

The first step is to open Microsoft Word, then move the cursor to the search section, then type “Calendar”. After that, several templates will appear, choose the model that suits you. To see some of these templates, you need to connect laptops or computers with an internet connection.

  1. Select Template

If you have found the desired template, then you can directly click “Create” to start downloading the template. If the calendar is finished downloading, you can start changing the layout and color as desired.

When finished, you can immediately click the save button to save the file on the computer.


How to Make an Automatic Calendar Design with Corel Draw

In addition to using Microsoft Word, you can also create an automatic calendar design with Coreldraw, which is easy and intuitive; here’s how to use it.


  1. Open the Corel Draw Application

If you have opened the Corel draw application, please create a new page by clicking the Ctrl + N key on the keyboard. After that, you will be asked to choose a paper size such as A4, A3, and other paper sizes.

  1. Click the Menu Bar

When you finish selecting the paper size, you can then open the menu bar, click Tools, select Macros, and click Run Macro. When you open the Run Macro dialog box, a Wizard will appear.

Click create a calendar on the Macros menu, select the Calendar Wizard then click Run immediately.


  1. Arrange the Design

After you open the Oberon Calendar Wizard dialog box, first set the design to your liking. For example, provide a checkmark in the “month” display design options that you want to display.

For layout options, you can select Year: Image + 13 small (3×4), then in the Small Header Tab menu, you can check the show year option.


Add images to the calendar layout with a photo space; the goal is to beautify the appearance. The trick, click the image object than on the menu bar Effects> Powerclip> Place Inside Container.

After that, your cursor turns into an arrow to the right. The arrows point to the available rectangle then click.


  1. Click Generate

If you have finished setting the layout, then proceed by clicking Generate. Then, the calendar will automatically be formed. After that, the finished generating the calender contact appears, continue by clicking OK. Press the Close button to close the Oberon Calendar Wizard v3.5 dialog box.

Daily Calendar Example

That’s a brief explanation of how to create a daily calendar template using Microsoft Word and Corel Draw that is easy.


10+ Permission Slip psd template free

Permission Slip Template


When you want to invite students to do activities outside of school, you must know how to make permission slip templates to be allowed to do activities outside of school, such as visiting a place to deepen knowledge.

Of course, the permission slip can also be used for other things such as to fill in the reasons children do not attend learning activities at school for specific purposes.


Fortunately, you can easily create permission slips that can be done by downloading the template slip permissions and then editing the reason by entering all the details you need. Requirements that must be included in the permit slip are accompanied by a person’s signature accompanied by contact that can be contacted.

If you have made permission slip templates, then you can travel quietly with parental consent.


How to Make a Permission Slip Template

Don’t know how to make permission slips? Come on, understand the instructions contained below.


  1. Use a Word Processing Program

The first clue to make a permission slip template is to choose a word processing program on a computer such as Microsoft Word, Google Pages, or Google Docs.

In some cases, it is recommended to make permission slips using clear and standard fonts so that they are easy to read and understand, such as Times New Roman and Arial fonts, which are 12 in size.


  1. Write down in detail

The next thing you should do in making permission slips is to write everything that answers questions related to specific activities. Of course, some of the answers in question include the question of who, when, where, why, and how much.

The contents must be explicit permission slips intended for who, when, where, how, and accompanied by clear reasons.


Don’t forget to enter school contact information so that student guardians can be contacted with a variety of questions.


  1. Create a column for student guardians to give permission

Next, you are advised to make a student guardian column so you can write down your consent or not for various reasons. Well, explicit consent written can be started from writing the name and then writing the reason you gave permission.

If not permitted, write down the reasons for not giving the child permission to travel, for example, due to illness.


  1. Add Emergency Contact Options

The next thing you should do is add an emergency contact option by creating a column to write an emergency contact that can be contacted if something happens with students, and then the parent cannot be reached.

  1. Add the Parent TTD Column

Don’t forget to add the Parent TTD column at the bottom; of course, the parent’s signature becomes the most critical structure in the permission slip template.

  1. Create a Permission Slip in Letter Format

The next thing you should know when writing slip permission is that the format is made like a letter. Well, don’t also forget to start writing with the words “Honorable.”


Use communicative language with polite words; don’t forget to end the letter with thanks.

Permission Slip Design Ideas

So, making a template slip permission is not difficult because the standard has a format like a letter written in Microsoft word processing.


10+ Greeting Card free template in PSD

Greeting Card Template


Make greeting card templates with attractive designs to make your family, friends, and others more memorable. If the invitation card is sound, it can inspire others to attend. There are various templates available for making greeting cards on online sites, or you can also make your own through Photoshop software applications.

Of course, to make a unique greeting card, you need an attitude of creativity that you have to make the template design look simple, neat, and enjoyable to read.


On various online sites, template greeting cards are now available for you to choose from.


Tips on Making a Greeting Card Template

Let’s find out a few tips for making attractive greeting card templates the easy way below.


  1. Choose size

There are several sizes to choose from for making greeting cards; there are “standard” options. If you want to make a greeting card with the “poster,” choice, then use the “portrait” or “square” model for the best results.

Make a Greeting Card Design According to the Theme that matches the color, Theme, and event that will be created. If you have trouble making your design, you can look for it on various online sites. Make sure you choose the right size and orientation of the greeting card that is appropriate and appropriate so that it seems exciting and memorable for the reader.


  1. Choose an interesting theme

Be aware that choosing the best Theme is the starting point for starting the design you have to make. The goal is that other people know more about what messages are written for them.

If seen from the Theme alone is interesting, it will make other people or guests feel memorable when reading the message.

  1. Give your card personality with pictures

For your card to be more communicative, you should give an identity or personality by adding a picture to make it look attractive with a visual touch.

Well, you can choose the best photos to make greeting cards more interesting to look at.


  1. Personalize Text

Next, the thing you have to do is personalize the text by adjusting the right font. Well, you have to choose a simple font style that is easy for others to read.

Thus what you write will also be more easily conveyed to guests.


  1. Add a Logo

After selecting the text that matches the template that you created, you also need to add a logo to make it look more official. Adding this logo is quite flexible. You can add it if you want to introduce a particular brand.

  1. Write a message that touches the heart

You should write a heartfelt message to the guests to make it more memorable. Write your congratulations, the sympathy you have on your readers so that the reader can more easily understand what you are writing about.

To be more conveyed, you can also use the edit options to change the font color, speech, opacity, spacing, and shape.


Thus, the message you write will be more easily conveyed to the intended person.

Greeting Card Example

If the greeting card template design is attractive, of course, people who read it will feel more memorable.


10+ Weekly Lesson Plan free psd template

Weekly Lesson Plan Template


Prepare for success by designing individual personalized weekly lesson plans. Having an irregular schedule of lessons will make it difficult for us to determine the calendar for other personal activities. Therefore, you must create a weekly lesson plan template that has an attractive and fresh design.

Making a weekly lesson template is different for each individual to adjust to the personal activities they have. Weekly lesson plans are not made for everyone but for individuals to coordinate the model to work more effectively.

To make it easier for you to create templates, you can use Canva or other software applications to make it easier for you to manage your schedule effectively and efficiently.


How to Make a Weekly Lesson Plan Template in Canva

Make a weekly lesson template design that is interesting and easy to read so that your learning activities are more effective. Let’s find out how to make it through the Canva application below.


  1. Choose a Simple but Good Template

The first step that must be done to create a Weekly Lesson Plan Template in Canva is that you first choose a simple and functional template. The way you can search the model “Weekly Lesson,” there are many templates that you can opt for free.

After choosing the template, you can immediately change the image from Canva stock, or you can also select it from the gallery application that you find interesting and suitable to use.


  1. Change font

After you choose the template, then change the image, choose a suitable font, easy to read clearly, and the size is also balanced with the size of the model you have chosen. Well, in the Canva application, there are more than 130 new fonts.

Surely you don’t need to choose a font with a complicated style that looks italic or Latin letters but selects a font that is easy to read.


  1. Change the background

You are also advised to change the background of our library or use images from the gallery. Pictures will positively significantly affect the design of attractive templates.

Also, please choose an image bright in color to make it easier to see, don’t forget to select a model whose color is also integrated with the font you chose.


  1. Add a Table in the Template

To make weekly lessons easier to read, you should add a table in the template to write the schedule every day to look neat and easy to read and understand.

Make sure you write the schedule correctly in the template. Well, put the table in the middle of the model so that it’s easy to see from any side.


  1. Add Attractive Icons

For the weekly lesson plan template to look better, you should add a touch of new icons. When looking at the schedule, it is not monotonous because it has a unique touch icon, like a book and pencil icon strategically placed in the corner of the template.


If it is filled with writing, it certainly will make the design look so monotonous.

Weekly Lesson Plan Design Ideas

Weekly Lesson Plan Example

Make a weekly lesson plan template that can spark enthusiasm for learning, besides making sure the model is made accessible to read from any side, so it is easy to see.